
NeonCRM Integration Primer

Using BidKit to connect your NeonCRM account to ClickBid mobile bidding.
By the end of this primer you will have linked your NeonCRM account securely with your ClickBid account. Let’s get started! Log into your BidKit account by browsing to https://bidk.it and clicking on Login in the top right.
After clicking on Login, you’ll be able to enter your ClickBid account credentials here to gain access to your BidKit account. Simply enter them and press Login.
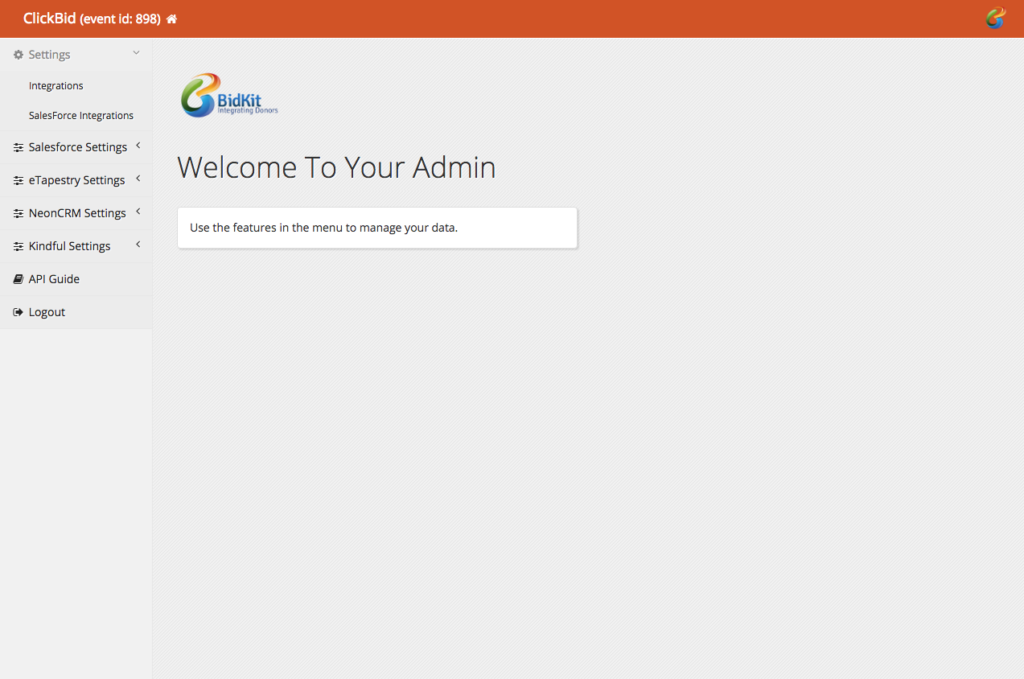
Once logged in you will see a navigation on the left side of your screen. To connect your NeonCRM account to your ClickBid account, choose Settings > Integrations.
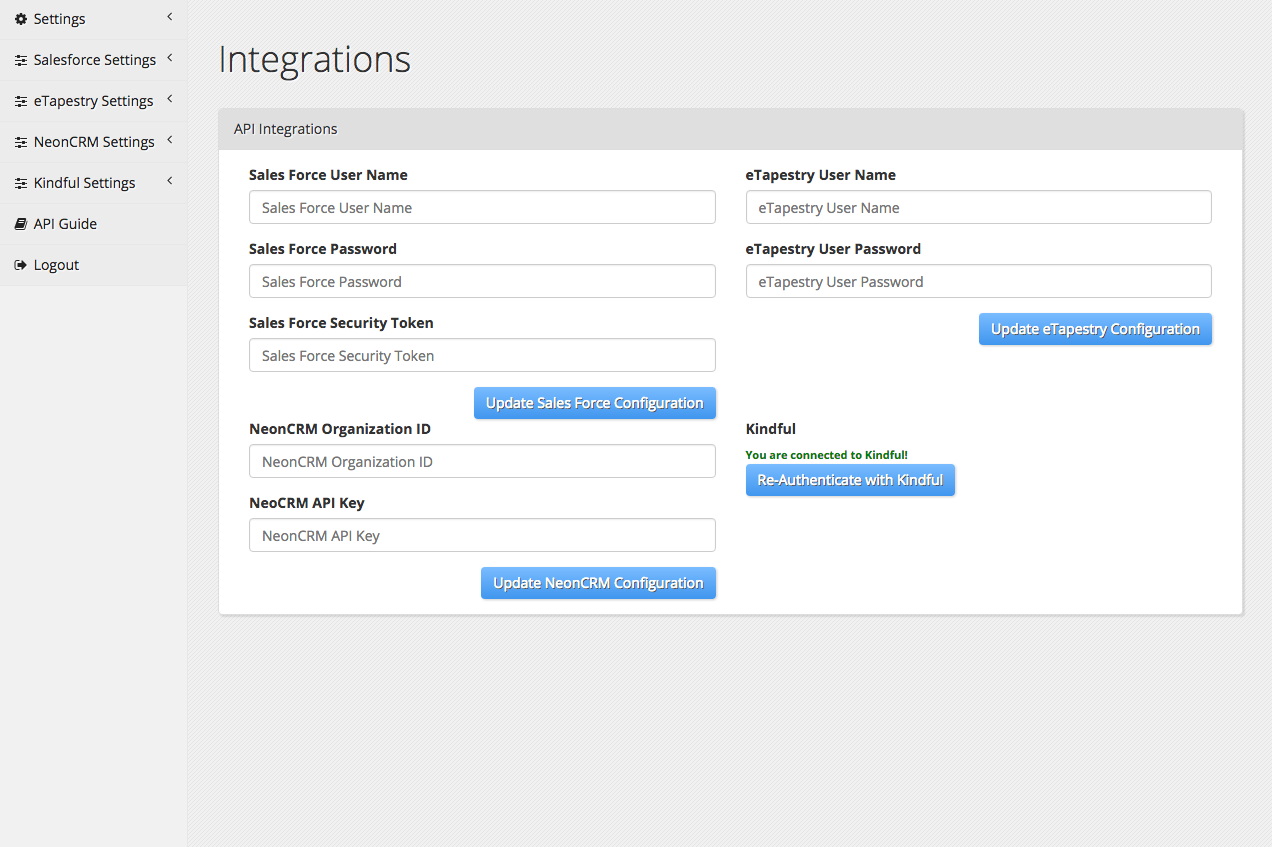
Inside this page we allow you to link several different CRM tools. NeonCRM is located in the bottom left. You will need your NeonCRM Organization ID and NeonCRM API Key. To locate those, click here or visit https://goo.gl/jvmbd6. When you have copied/pasted your credentials, press Update NeonCRM Configuration. This will tell BidKit which NeonCRM account to associate with.
Import Accounts as Bidders
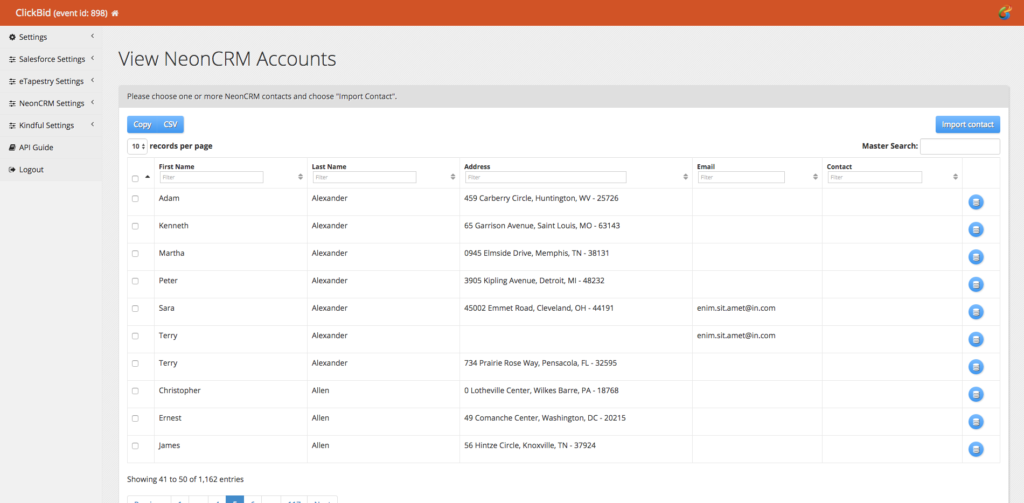
Now you are ready to import NeonCRM contacts into your ClickBid account. Choose NeonCRM Settings > Import Bidders to display all your NeonCRM contacts. The resulting list is searchable and those records that you can import will have clickable checkboxes and blue pancake circle icons at the end of their row.
To import a contact, choose one or more contact and press Import Contact (top right blue button). You may also import one-at-a-time by choosing the pancake circle icon at the end of any contact. Once imported, the record is no longer selectable and the pancake icon is gone for that record.
TIP: Before your event, we suggest you only import contacts with valid methods of communication (phone and/or email). Without this information you would not be able to communicate to the guest that they have a bidder record.
Import Accounts in Real-Time
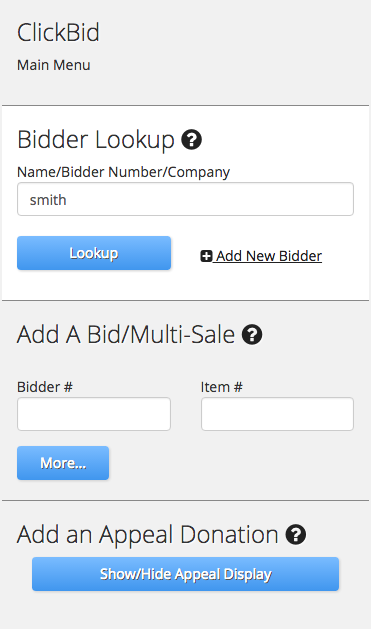
To assist you during your event, ClickBid Butler, the simple volunteer event terminal, is equipped to search your NeonCRM account in real-time. Just enter some of guest’s last name into the Bidder Lookup box and press Lookup.
TIP: If you waited to connect contacts without phone/email then this process will catch them as they come through the door. At this point, you can ask for phone and/or email.
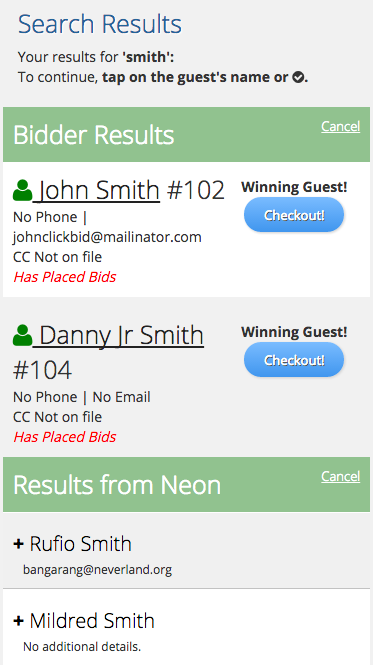
The top portion of the results display bidders in your ClickBid account. The bottom portion represents contacts found in your NeonCRM account. In this case you could click/tap on Rufio Smith’s record to instantly import his record into ClickBid and let him start bidding right away.
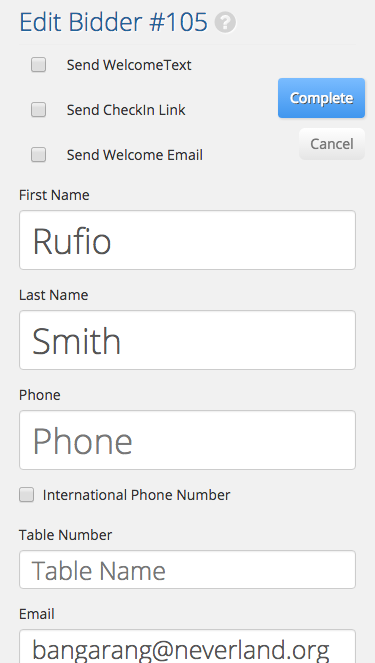
After pressing Rufio’s name, you will have the option to add a phone/email address and complete his check-in. Once complete, he will get a welcome notification text and be able to start bidding.
Exporting Sales to NeonCRM
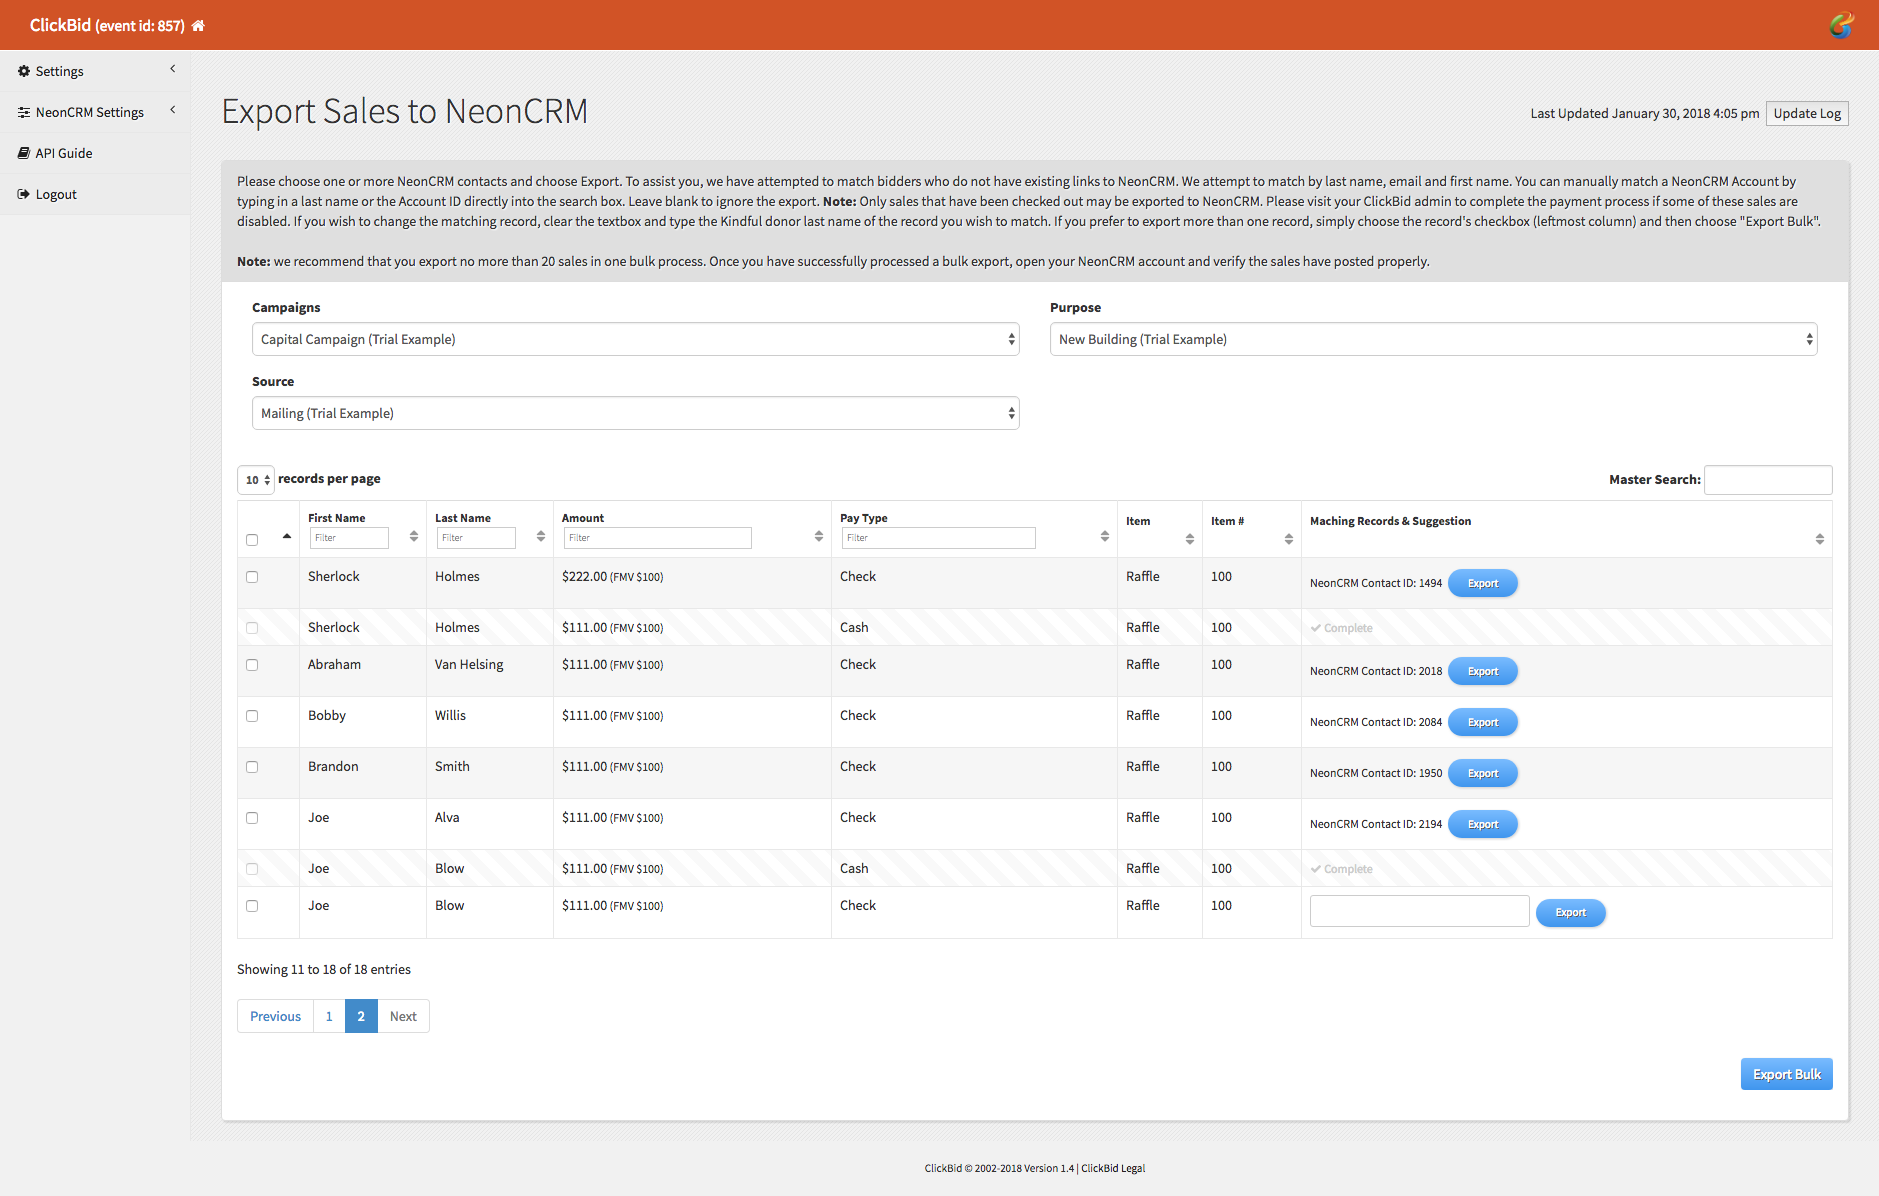
Bidding continues until the end of the event. Once complete, you can log back into your BidKit account (using your ClickBid credentials) and choose NeonCRM Settings > Export Sales. From here you will get a list of all sales from ClickBid. We will link those to NeonCRM contacts that you brought over from NeonCRM either before or during the event. In addition, we will look at your campaign contacts and attempt to match any NON-linked data with name matches. You can also type a last name into the sales’s suggestion box to see if we have a match from your campaign contacts. NOTE: You may only send processed sales to NeonCRM. Therefore, you must complete payments through ClickBid prior to sending sales to NeonCRM. This will ensure that the proper reconciliation can take place.
Similar to importing contacts, you can choose multiple sales by selecting the checkbox next to their record or one-at-a-time by choosing the pancake icon at the end of their row. Pressing Export Sales will send those sales to NeonCRM and link them to their contact record. NOTE: You will need to choose a Campaign to assign these sales to before submitting your records.
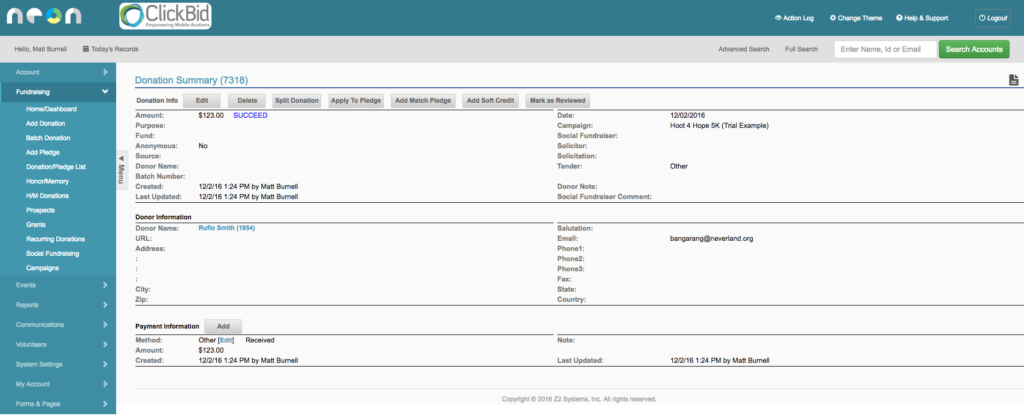
Records sent to NeonCRM are queued up and donation records are created in the order received. When complete, you will see sales listed in the Action Log page of your NeonCRM account.
That’s all there is to it. Our goal is to make integration simple and fast for you and your organization. If you have any questions about this process or need support, please contact ClickBid’s support team at support@clickbidonline.com. We will be happy to assist you.